

How to create a contest
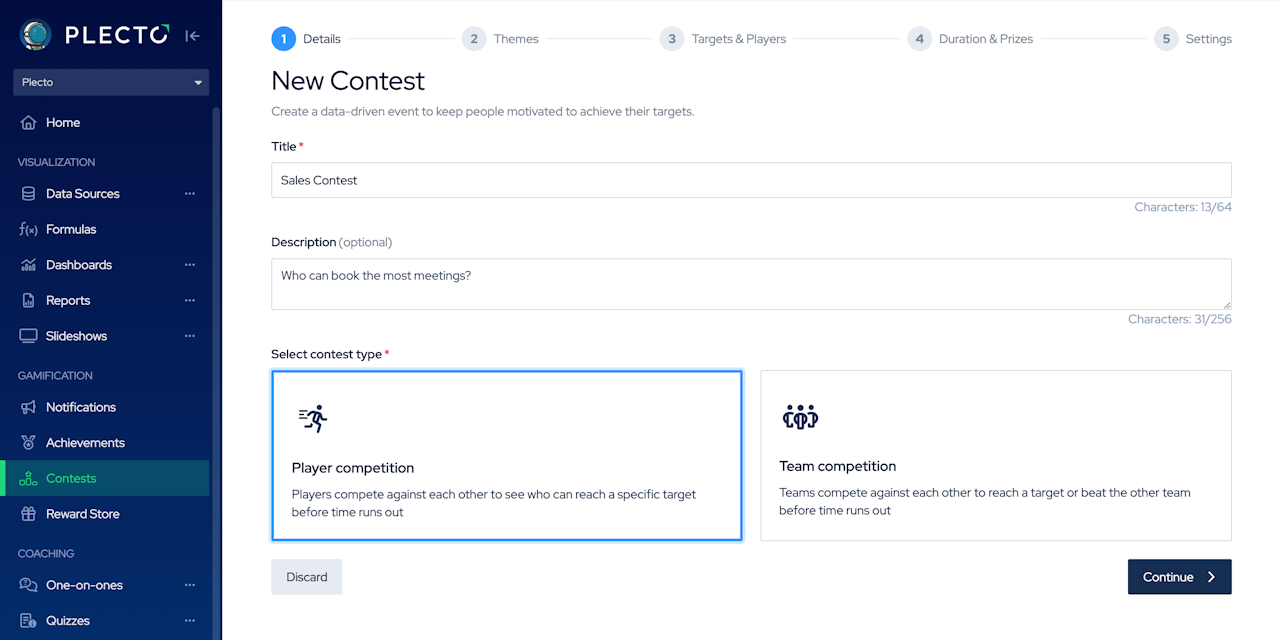
Go to Contests > New.
Add a contest title, description (optional) and choose the contest type. Click Continue.
Choose a contest theme and click Continue.
Select a contest formula. This will be the KPI your contest will get measured by.
(Optional) Add a contest target. You can add either type in a target value or use another formula as the target.
Add your Players or Teams. For Teams, you can either choose existing teams or create custom teams. You can also choose custom targets. Click Continue.
Set the contest duration. Choose the Start and End dates and time.
If there's no end date, the contest will end as soon as the first player or team has reached the target.
If no target is added, the end date is mandatory.
If both the target and end date are added, the contest will be active until the time runs out, and all participants can outperform the targets.
Add the prizes. There can be up to 10 winners, and you can award either a custom prize or Plecto coins that can later be redeemed in the Reward Store. Click Continue.
Decide if you want to show the countdown clock and prize on the contest screen.
Once ready, click Create contest.

How to add contests to a slideshow
If you want to see your contests on TVs just like dashboards, you need to add them to a slideshow.
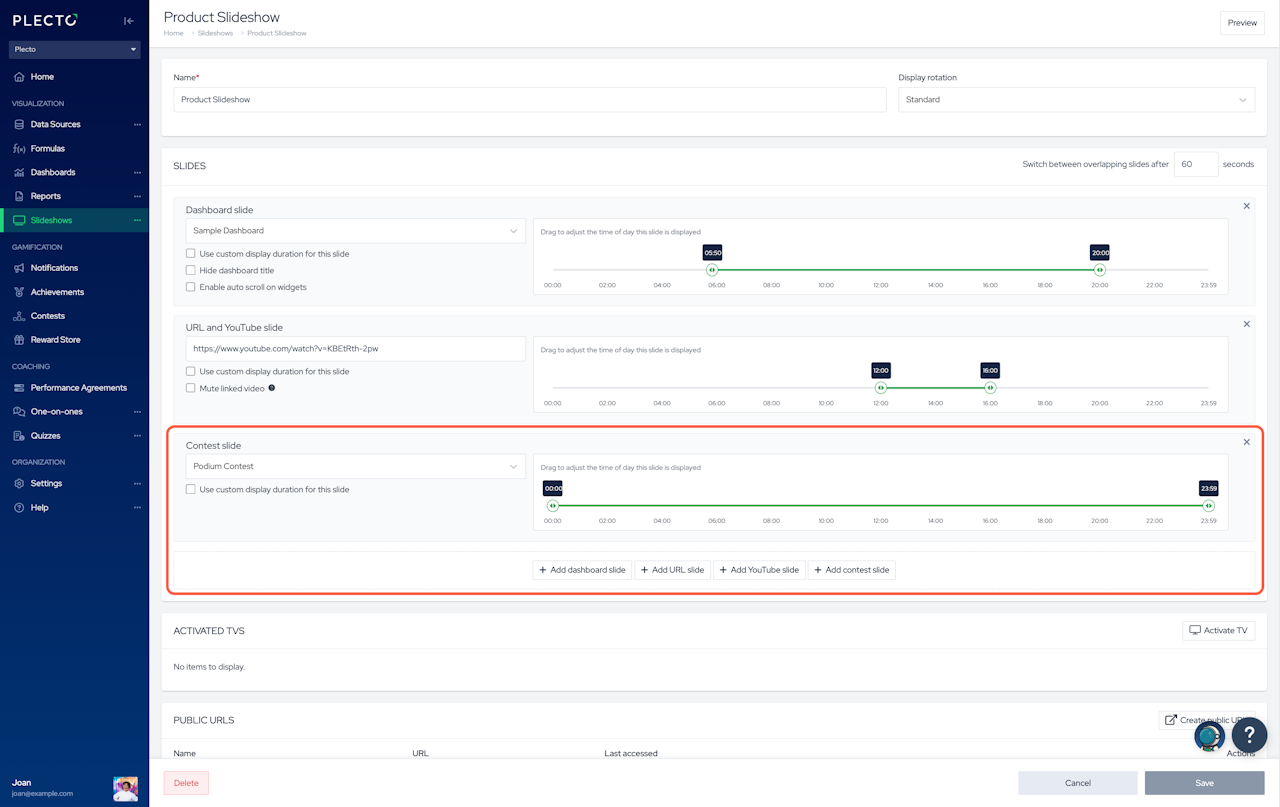
Go to Slideshows and create new or open an existing contest.
Click Add contest slide and select your contest.
(Optional) Drag the sides to adjust the slide's timeline or choose a custom slide duration (in seconds).
Click Save to finish.
Play the contest introduction
Once your contest is ready and added to a TV screen, announce it with a colorful contest introduction!
To play a contest introduction, open a slideshow that displays your contest on a TV.
On a computer, go to Contests, click the three dots on the right and choose Play intro on slideshow.
Plecto will immediately send the contest introduction video to the slideshow.

How to personalize your contest avatar
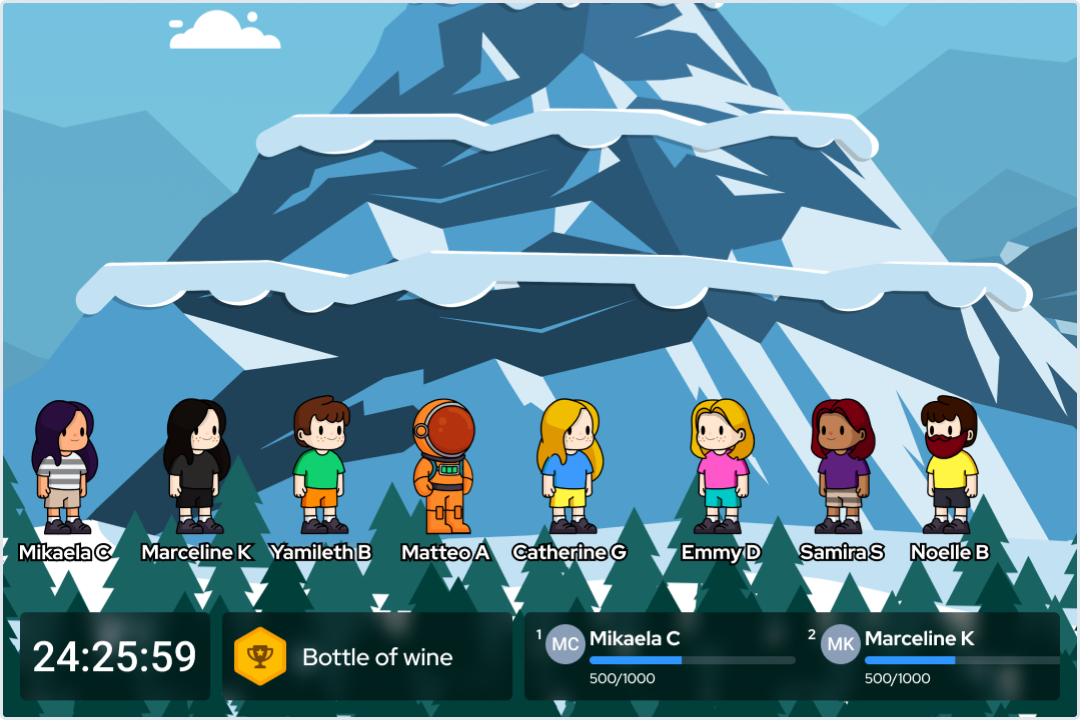
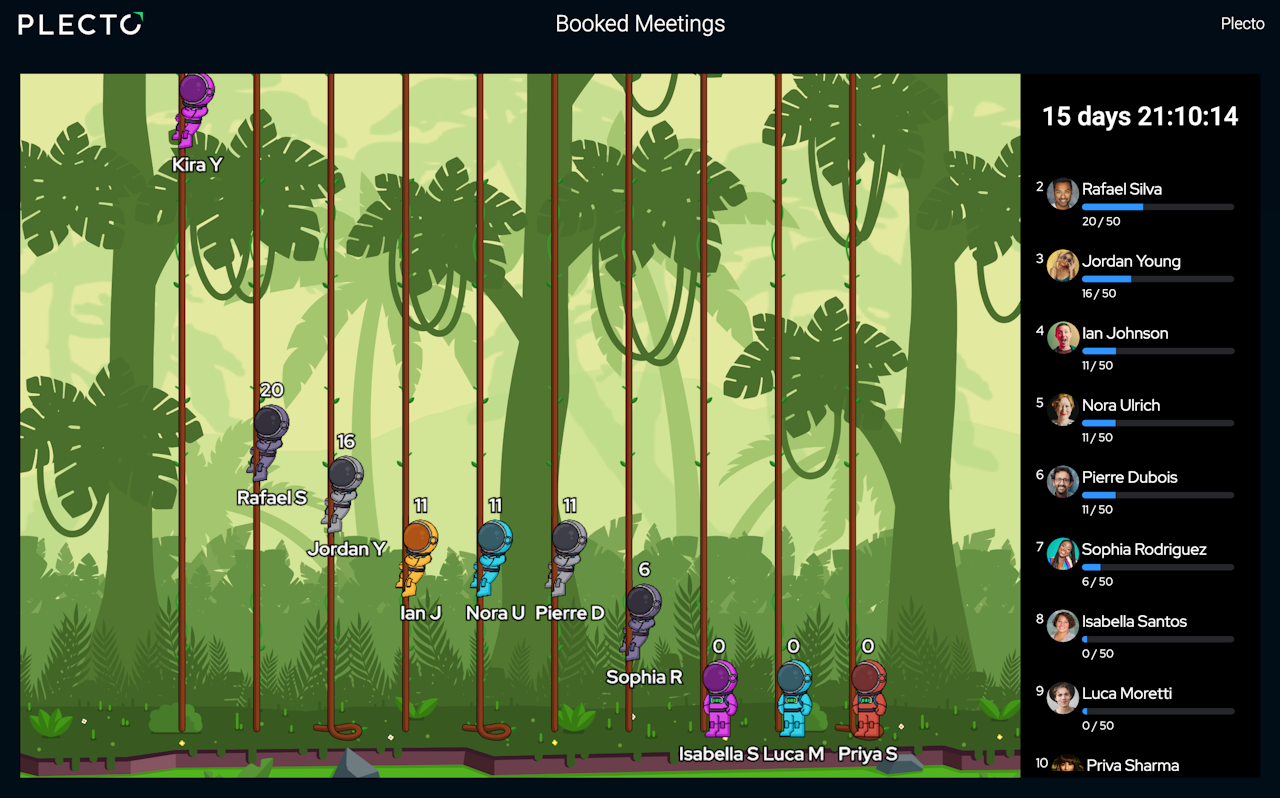
Contest avatars are currently only available with the Race in space, Mountain race, and Jungle climb themes.
To personalize your contest avatar, click on your profile in the bottom-left corner.
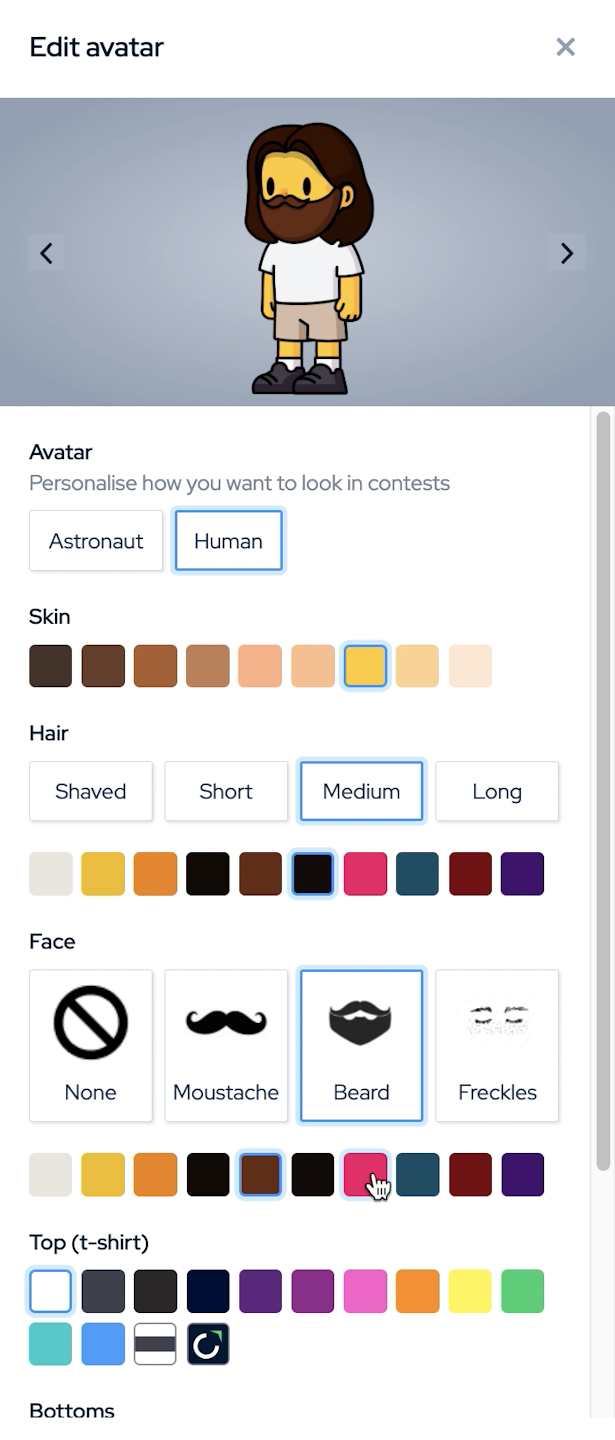
Click Edit avatar in the top-right corner.
Choose between a Human or an Astronaut and customize their appearance, including the color and style, and the color of the Spaceship.
Click Save at the bottom.

